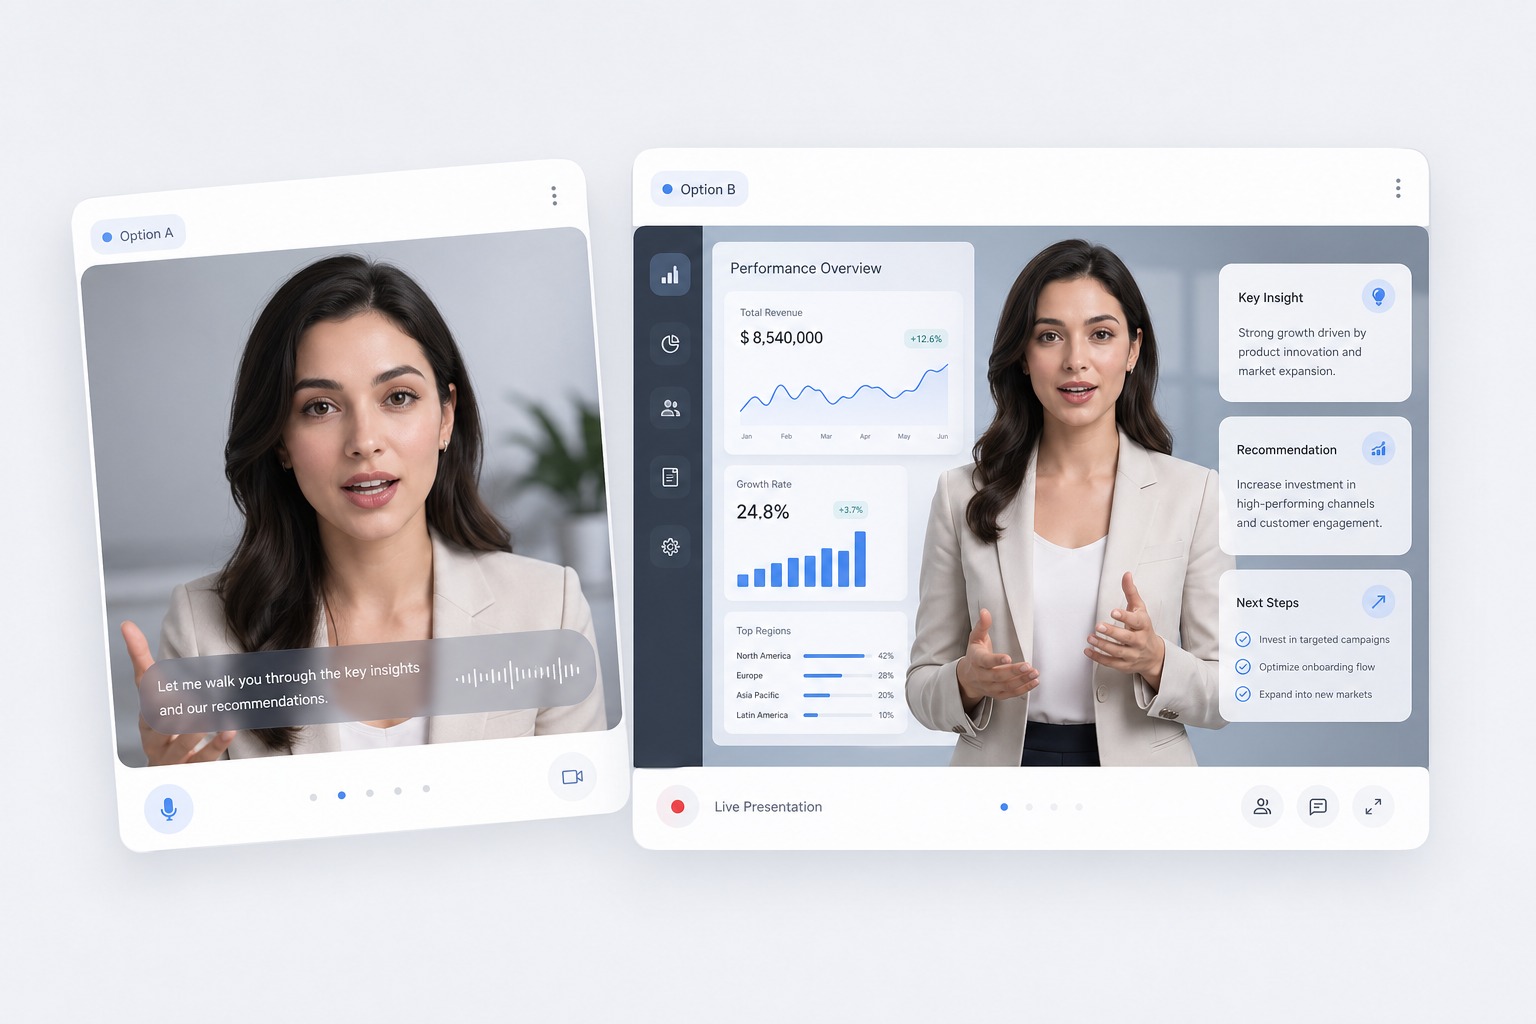
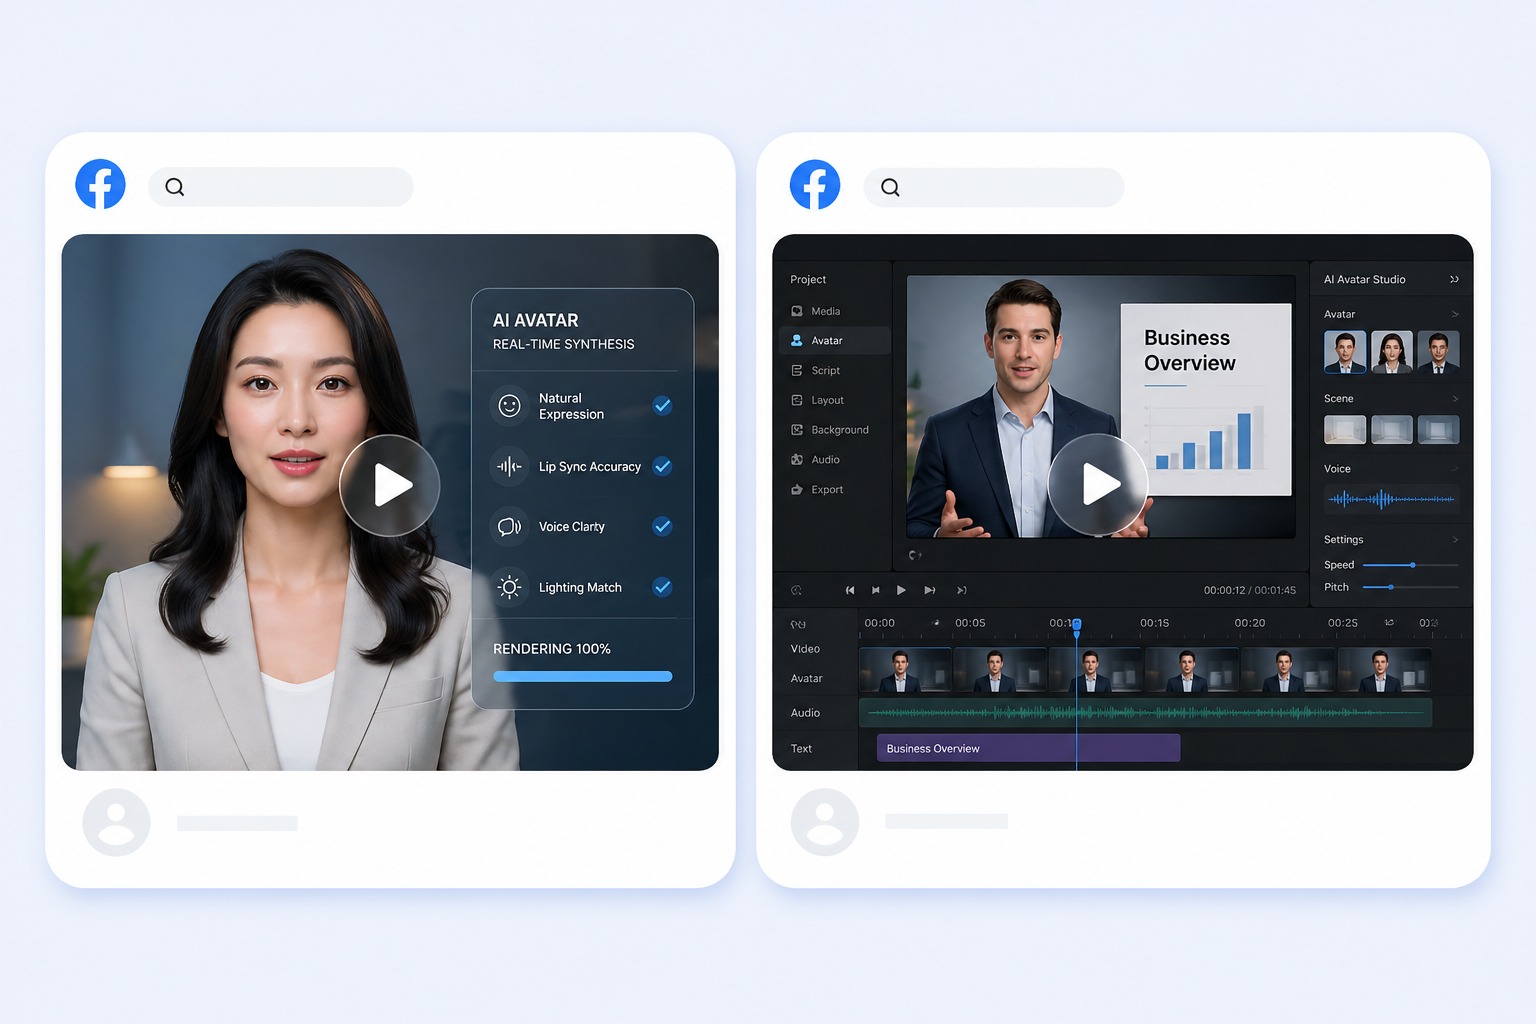
AI Avatar Video Workflow: From Script to Publishable Video
Follow a practical AI avatar video workflow for planning, scripting, generating, reviewing, editing, and publishing clear avatar-led content.
 AvatarCraft Team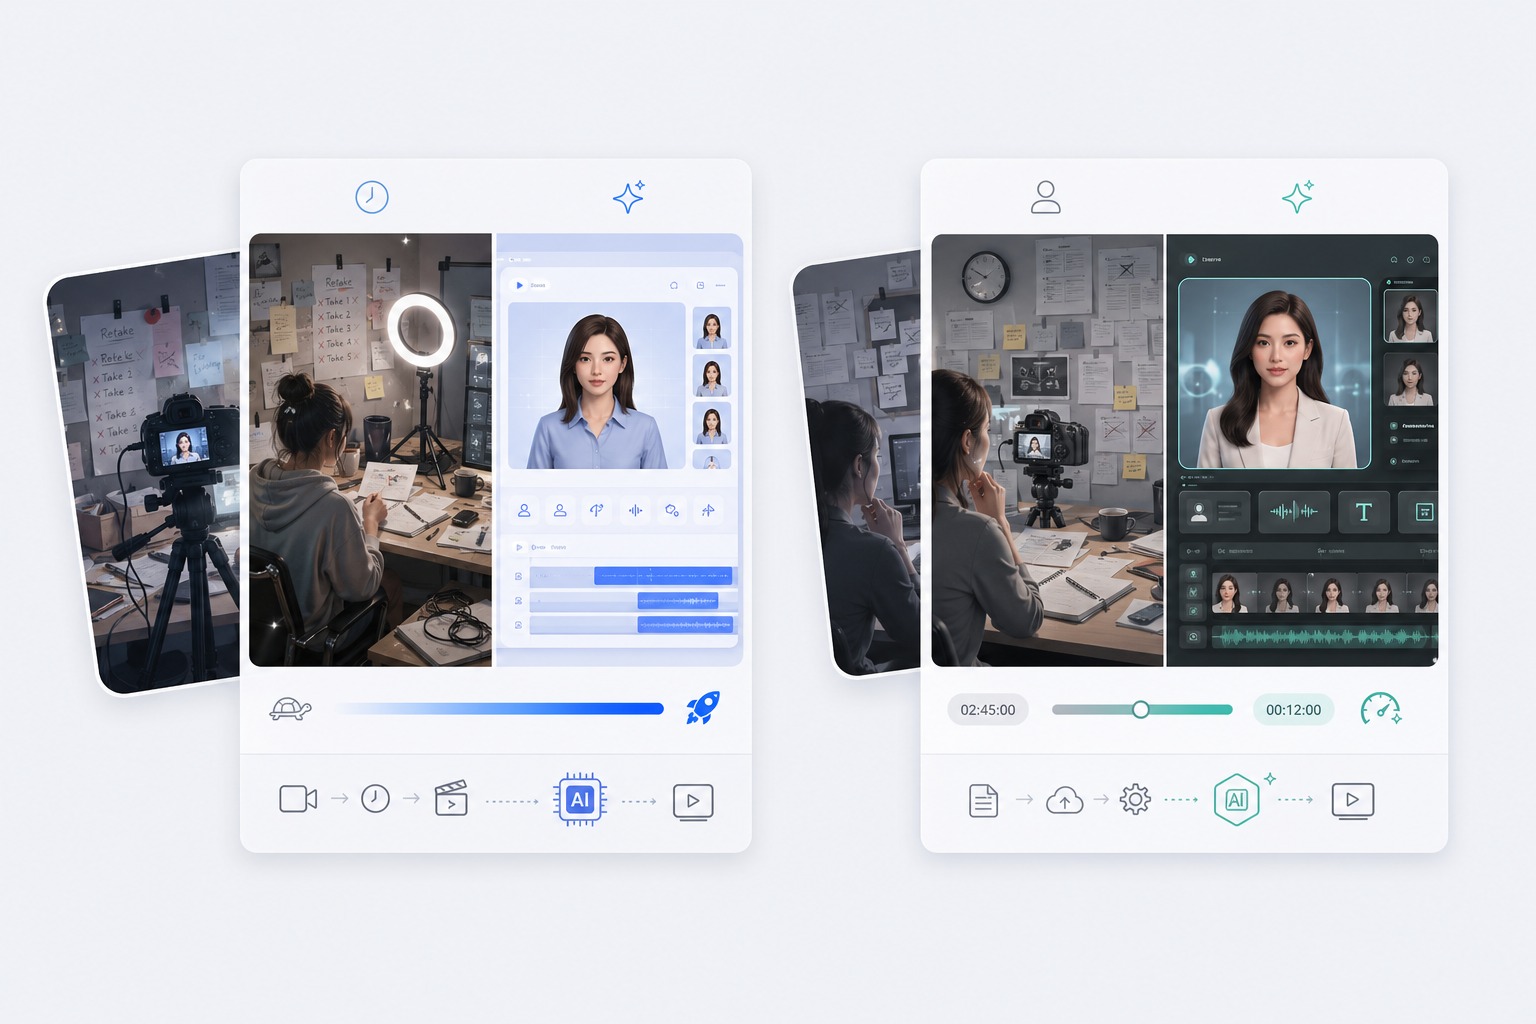
The workflow at a glance
A reliable AI avatar video workflow has seven stages: define one outcome, write for spoken delivery, approve the facts and rights, prepare the portrait and voice, generate the avatar segment, review the complete output, and finish the video for its channel.
AvatarCraft handles the focused generation step: combine a portrait with a typed script or consented audio to create a lip-synced talking video. The surrounding stages still matter. A clear brief and a careful final review usually have more impact on publishability than adding more words or effects.
Use the talking avatar generator to create the presenter segment, then follow this guide to build a repeatable process around it.
Stage 1: define one viewer outcome
Start with the change you want after the viewer watches. Good outcomes are specific:
- understand one product feature;
- complete one onboarding step;
- remember one event date;
- compare two options;
- take one next action.
“Make an engaging video” is not a workable brief because it gives the writer and reviewer no decision rule. “Help a new user connect their first data source” is clearer. It determines what the avatar should say, what supporting footage is necessary, and which details can be removed.
Create a one-paragraph brief containing the audience, outcome, channel, target duration, call to action, and owner. Add any claim, legal, privacy, or brand constraints before writing begins.
Stage 2: write a script for speech
An avatar reads the script you provide; it does not decide which facts are correct or which message is appropriate. Treat the script as the source of truth for the generated performance.
Use a simple spoken structure
For a short business video, this structure is dependable:
- Context: name the problem or reason to listen.
- Value: explain the key idea in plain language.
- Evidence or demonstration: show what the viewer needs to believe or do.
- Next action: give one clear instruction.
A 30-second draft might read:
New project approvals now happen in one place. Open the Projects tab, choose the item marked Ready for review, and add your decision. The project owner will receive the update automatically. Review your first project today.
The sentences are short, the interface labels are explicit, and the final action is easy to identify.
Make pronunciation visible
Read the script aloud. Rewrite dense sentences, expand ambiguous abbreviations, and note the intended pronunciation of names and technical terms. Numbers, dates, currency, URLs, and acronyms often need a spoken form rather than the form used on a web page.
Write “August tenth” when that is the intended delivery, not “8/10.” Write a product acronym phonetically if the voice otherwise reads it as a word. When exact performance matters, upload a clean, authorized recording instead of relying only on text-to-speech.
Estimate length by speaking, not guessing
Time one human read at a calm pace and leave room for pauses. A dense script may technically fit a duration while still sounding rushed. Cut secondary ideas before compressing every pause; clarity is the goal.
Stage 3: approve facts, claims, and rights
Separate content approval from visual review. Before generation, a responsible person should confirm:
- product names, steps, prices, dates, and offers;
- claims and required qualifications;
- names and pronunciations;
- portrait ownership or permission;
- voice ownership and speaker consent;
- music, images, and supporting media rights;
- disclosure requirements for synthetic media.
This checkpoint prevents the team from polishing a video built on an incorrect script. It also creates a clean record of what was approved before the avatar represented the message.
Never use a real person's likeness or voice to imply an endorsement, opinion, action, or statement they did not authorize. For sensitive fields such as health, finance, politics, employment, and public safety, add the appropriate specialist review.
Stage 4: prepare the portrait and voice
Portrait checklist
Use one clear face with the eyes and mouth visible. A front-facing or slight three-quarter view is a stronger starting point than an extreme profile. Even lighting and a stable crop help the face remain recognizable during animation.
Choose a portrait that fits the role. A recurring company presenter, an original mascot, and an illustrated educator create different expectations. The visual should support the message and be authorized for every planned channel.
If the video needs a conventional presenter composition, the AI talking-head video generator provides a focused starting point. For marketing or company representation, use the AI spokesperson generator and apply a stricter claims review.
Audio checklist
For uploaded audio, use one speaker, a stable volume, and minimal echo or background noise. Remove music before generation and add it later in an editor. Keep the beginning and end clean so the avatar does not start or stop mid-sound.
For text-to-speech, choose a voice that fits the audience and subject. Test the most difficult sentence first. Confirm names and technical terms before generating the full segment.
Stage 5: generate a controlled first version
Do not begin with the longest possible video. Generate a representative test containing the presenter, one difficult phrase, one pause, and the intended voice. This establishes whether the inputs work before the team spends time on a full version.
In AvatarCraft, the core flow is:
- choose or upload the authorized portrait;
- enter the approved text or add consented audio;
- review the available voice and generation settings;
- generate the talking avatar clip;
- watch the complete output before moving to editing.
Keep the source portrait, final script, audio, settings, and output together under one version label. A simple naming pattern such as project-message-v03 makes feedback easier to track than files named “final-new-2.”
Stage 6: review in three passes
One uninterrupted viewing is not enough. Split review into three passes so each reviewer knows what to look for.
Pass 1: message and audio
Listen without focusing on the face. Confirm every word, name, number, pause, and call to action. Check that the tone suits the audience and that captions can represent the speech accurately.
Pass 2: face and synchronization
Watch the mouth at B, P, F, V, and longer vowel sounds. Check the first and last second, where abrupt starts or lingering movement may appear. Also watch the eyes, face outline, hair, teeth, and background for instability.
Pass 3: context and risk
View the clip as the audience will see it. Confirm that the synthetic presenter is not misleading, the supporting claims are substantiated, disclosures are present where necessary, and the portrait and voice permissions cover this exact use.
Record feedback against a timestamp and category. “At 00:12, the product name is mispronounced” is actionable. “Looks odd” is not.
Stage 7: finish for the publishing channel
The generated avatar is usually one layer of the finished piece. In a video editor, add only what helps the viewer complete the intended outcome:
- accurate captions for accessibility and sound-off viewing;
- screen recordings or product views when the avatar refers to an interface;
- supporting footage that shows the real object, place, or process;
- restrained brand identifiers and a clear call to action;
- music you are permitted to use, mixed below the voice;
- the correct crop and safe area for each channel.
Do not cover the presenter with captions or place essential text under platform controls. Review horizontal and vertical versions separately rather than assuming one crop works everywhere.
After export, watch the uploaded version on the actual platform. Compression, automatic captions, thumbnails, and mobile crops can introduce problems that are not visible in the editor.
Workflow examples
Product update
The product manager approves the change summary. A marketer turns it into a short spoken script, then generates an avatar introduction. Screen recordings demonstrate the changed interface. Support reviews the final captions and links before publishing.
Customer onboarding
The customer-success owner selects one activation step per video. A consistent avatar introduces the goal and closes with the next action, while actual product footage carries the detailed instruction. When the interface changes, only affected segments are revised.
Campaign spokesperson clip
The campaign owner supplies approved claims, dates, and calls to action. The team generates an AI spokesperson video, adds product evidence and required qualifications, then routes the completed advertisement through normal brand and compliance review.
Internal training
A subject-matter expert writes the process and records difficult terminology. The training team uses an avatar for introductions and summaries, while diagrams, demonstrations, and knowledge checks handle the instruction itself.
Common workflow mistakes
Starting with the avatar instead of the message
A strong visual cannot rescue an unfocused script. Define one audience outcome first and remove every sentence that does not serve it.
Treating generation as final delivery
Lip sync is only one quality dimension. Captions, claims, supporting evidence, channel formatting, and permissions still determine whether the result is publishable.
Changing inputs during comparison
If the portrait, voice, script, and crop all change between attempts, the team cannot learn what improved or damaged the result. Change one variable at a time during testing.
Skipping the end of the clip
Reviewers often focus on the middle. Always inspect the opening and closing frames for abrupt motion, cut-off speech, or an expression that lingers after the audio ends.
Losing the approval record
Store the final script, portrait permission, voice consent, reviewer, output, and publication location together. This becomes essential when a claim changes or a contributor withdraws permission.
A reusable production checklist
Before generation
- One audience and one outcome are defined.
- The script has been read aloud and timed.
- Facts, claims, names, and calls to action are approved.
- Portrait and voice permissions are documented.
- The portrait has one clear, visible face.
- Text-to-speech or uploaded audio has been chosen intentionally.
After generation
- Every word and pronunciation is correct.
- Lip sync and identity remain stable throughout.
- The beginning and ending frames are clean.
- Captions match the final audio.
- Supporting footage shows any product or process being described.
- Disclosures and qualifications are present where required.
- The final crop works on the target device and channel.
- The source and approval record are archived.
Limitations to keep explicit
An AI avatar generator does not research or verify the script, create a complete multi-scene production, guarantee a natural result from every portrait, or grant rights to uploaded media. It generates an animated presenter from the inputs and settings you provide.
Complex scenes still require editing and design. Sensitive messages still require human judgment. Poor portraits and noisy audio still reduce the quality of the source information. Build those boundaries into the process rather than discovering them after publication.
Frequently asked questions
How do I turn a script into an AI avatar video?
Approve the script and media rights, choose a clear portrait, enter the text or upload consented audio, generate the lip-synced avatar segment, then review and finish it for the target channel.
How long should an avatar script be?
Use the shortest length that achieves one viewer outcome. Read the script aloud and time it at a calm pace. Split dense or multi-topic material into a series rather than rushing one long video.
Should I use text-to-speech or recorded audio?
Use text-to-speech when the script changes frequently and a suitable voice is available. Use recorded audio when exact performance, timing, emotion, or pronunciation matters. Obtain the speaker's consent.
What image works best for a talking avatar?
Start with one sharp, front-facing or slight three-quarter portrait in even lighting. Keep the eyes and mouth unobstructed and avoid extreme angles, multiple faces, or a very small face in the frame.
What should I review before publishing?
Check every word, claim, pronunciation, caption, lip movement, identity detail, permission, disclosure, crop, and call to action. Then review the uploaded version on the actual platform.